Setting up PPSSPP Pico Wiring HyperHDR can transform your retro gaming and media experiences. This comprehensive guide ensures you achieve optimal results, covering every detail in simple, actionable steps. Whether you’re a seasoned enthusiast or a beginner, this article will guide you seamlessly through the process.
Introduction to PPSSPP Pico Wiring HyperHDR
What is PPSSPP?
PPSSPP is an open-source PSP emulator that allows users to play classic PSP games on devices such as PCs, smartphones, and tablets. It delivers high-resolution graphics, customizable controls, and support for a vast library of PSP games.
What is Pico Wiring?
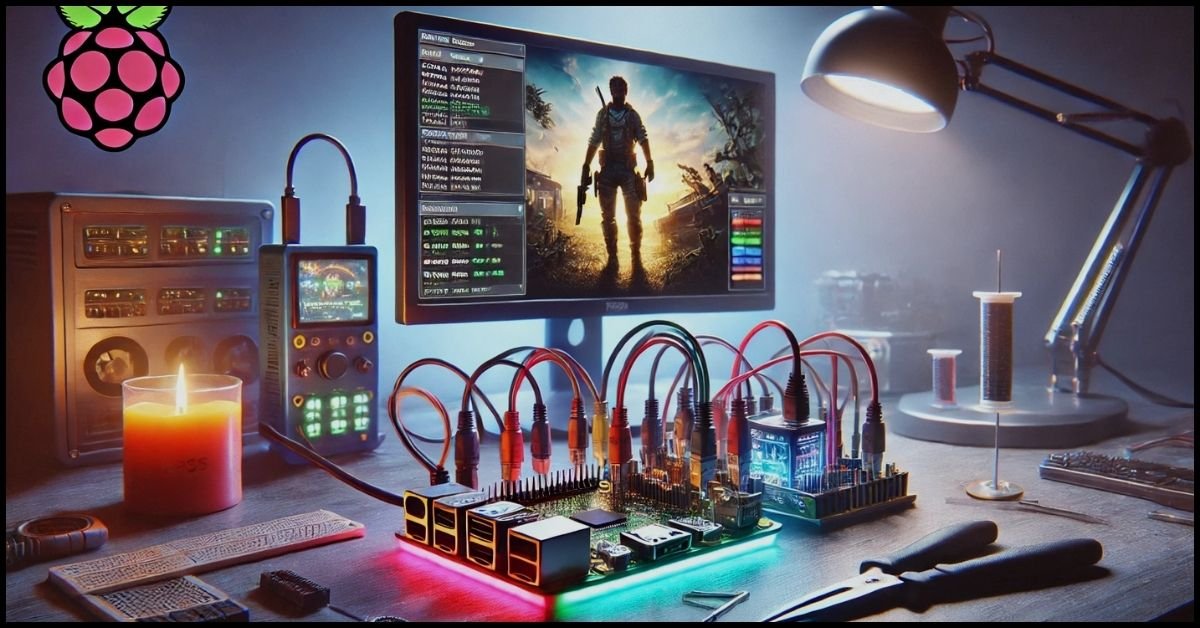
Pico Wiring refers to the configuration used to connect peripherals, like LEDs, to devices such as a Raspberry Pi. This wiring system allows hardware to interact seamlessly with software.
What is HyperHDR?
HyperHDR is an advanced fork of Ambilight technology that synchronizes LED lighting with on-screen content. It enhances immersion by creating dynamic ambient lighting that matches the visuals on your screen.
Benefits of Combining PPSSPP Pico Wiring HyperHDR
- Immersive Gaming Experience: Synchronize your game visuals with vibrant lighting effects.
- Customizable Settings: Fine-tune colors, brightness, and profiles to suit different games and moods.
- Enhanced Visual Appeal: Transform your gaming or media setup with eye-catching ambient lighting.
- Community Support: Both PPSSPP and HyperHDR have active communities that offer regular updates, plugins, and support.
- Open-Source Flexibility: Both tools are free and open-source, making them accessible to everyone.
Essential Components and Requirements
Hardware
- Raspberry Pi (preferably Raspberry Pi 3 or later) with Pico Wiring support.
- LED Strips: WS2812 (NeoPixel) or APA102 (DotStar).
- Power Supply: Ensure a sufficient power supply for the LEDs (typically 5V).
- Microcontroller (optional, depending on your setup).
- USB Cables for connections.
- Soldering Kit (if you’re assembling custom wiring).
- SD Card with at least 8GB capacity.
Software
- PPSSPP Emulator: Downloadable from the official site.
- HyperHDR Software: Available on GitHub.
- Raspberry Pi OS: Preloaded onto your SD card.
Tools
- Multimeter: For testing wiring connections.
- Screwdrivers: For securing components.
- Heat Shrink Tubing: To insulate connections.
Step-by-Step Setup Guide for PPSSPP Pico Wiring HyperHDR
Step 1: Hardware Preparation
Planning Your Setup
- Determine the placement of your LED strips (e.g., around your monitor or behind your gaming setup).
- Measure the dimensions to ensure you have the correct LED strip length.
Wiring the Components
- Connect the LED strips to the Raspberry Pi via Pico Wiring.
- Secure a stable power supply to the LEDs. Use a power adapter rated for the LED strip’s voltage and current requirements.
- Insulate all exposed connections using heat shrink tubing or electrical tape.
Testing the Hardware
- Use a multimeter to check for continuity and avoid short circuits.
- Power on the setup briefly to ensure the LEDs light up.
Step 2: Installing PPSSPP Emulator
Downloading the Emulator
- Visit the official PPSSPP website.
- Select the version compatible with your device (Windows, macOS, Linux, Android, etc.).
Installing and Configuring PPSSPP
- Install the emulator by following the on-screen instructions.
- Launch the emulator and configure the settings:
- Graphics: Set resolution scaling to 2x or higher for HD visuals.
- Controls: Customize button mappings for your preferred input method.
- Audio: Enable high-quality sound effects.
Step 3: Configuring Pico Wiring for HyperHDR
Setting Up the Raspberry Pi
- Flash Raspberry Pi OS onto your SD card using tools like Balena Etcher.
- Insert the SD card into the Raspberry Pi and boot it up.
Installing Pico Wiring Software
- Open the terminal and enter the following commands to install the necessary libraries:
- sudo apt update
- sudo apt install python3-pip
- Download the Pico Wiring configuration files from the official HyperHDR GitHub repository.
Testing LED Functionality
- Run a test script to verify that the LEDs respond correctly.
- Adjust the wiring if the LEDs do not light up as expected.
Step 4: Setting Up HyperHDR Software
Downloading HyperHDR
- Access the HyperHDR GitHub page.
- Download the latest version of your operating system.
Installing and Configuring HyperHDR
- Launch the installer and follow the on-screen instructions.
- Set up your LED configuration in the HyperHDR interface:
- Select your LED type (e.g., WS2812 or APA102).
- Define the layout and dimensions of the LED strip.
Calibrating HyperHDR
- Use the color calibration tool to adjust brightness, saturation, and color accuracy.
- Save the configuration and test it by playing a video or launching a game.
Step 5: Syncing PPSSPP with HyperHDR
Enabling Video Grabber
- In the HyperHDR settings, enable the video grabber feature to capture gameplay visuals.
- Configure the resolution and frame rate to match your display settings.
Calibrating Lighting Effects
- Fine-tune the LED response to match the visuals in PPSSPP.
- Test with a high-motion game to ensure smooth lighting transitions.
Final Testing
- Launch a PSP game in PPSSPP.
- Observe the LED lighting and ensure it syncs perfectly with the gameplay.
Advanced Features of PPSSPP Pico Wiring HyperHDR
- HDR Support: HyperHDR can handle HDR content, providing enhanced brightness and color accuracy.
- Multiple Profiles: Create and switch between profiles for different games or media.
- Audio Reactive Lighting: Sync LED lighting to the audio output for added immersion.
Optimizing PPSSPP for Better Performance
- Enable Frame Skipping: Helps maintain smooth gameplay on lower-end devices.
- Adjust Rendering Backend: Experiment with OpenGL or Vulkan for better performance.
- Enable Texture Scaling: Improves the appearance of older games.
- Use Save States: Quickly save and load progress to test your setup.
Common Troubleshooting Tips
- LEDs Not Lighting Up:
- Verify all wiring connections.
- Check the power supply and ensure sufficient voltage.
- HyperHDR Not Detecting LEDs:
- Ensure the correct LED type and layout are selected in the settings.
- Update the HyperHDR software to the latest version.
- Gameplay Lag:
- Lower the resolution settings in PPSSPP.
- Optimize the LED refresh rate in HyperHDR.
Advanced Tips for Enhancing Your Setup
- Overclock Your Raspberry Pi: Boost its performance for smoother LED transitions.
- Use Shielded Cables: Minimize interference for consistent lighting.
- Integrate Smart Home Features: Sync HyperHDR with smart home systems like Alexa or Google Home.
FAQs about PPSSPP Pico Wiring HyperHDR
Q1: Can HyperHDR work with other emulators?
A: Yes, HyperHDR supports various emulators, including Dolphin and RetroArch.
Q2: What is the ideal LED strip for this setup?
A: WS2812 and APA102 are popular choices due to their high brightness and responsiveness.
Q3: Is the setup process beginner-friendly?
A: While some technical knowledge is needed, this guide simplifies the process.
Q4: How do I update HyperHDR?
A: Download the latest version from the GitHub page and replace the existing installation.
Q5: Does HyperHDR support 4K resolution?
A: Yes, provided your hardware can handle 4K output.
Conclusion
Setting up PPSSPP Pico Wiring HyperHDR is a rewarding project that enhances your gaming and media experiences. By following this detailed guide, you’ll create a vibrant and immersive environment that adds a new dimension to your favorite games and content. Have questions or need help? Drop a comment, and we’ll assist you!

Zoe Rae is a dynamic writer at SpinUpBusiness.com, where she covers a broad range of topics from business strategies to lifestyle, technology, and more. With a keen eye for detail and a passion for making complex ideas simple, Zoe crafts content that informs, engages, and inspires her readers.